
The Detailed Process of a Professional Ceramic Coating Installation
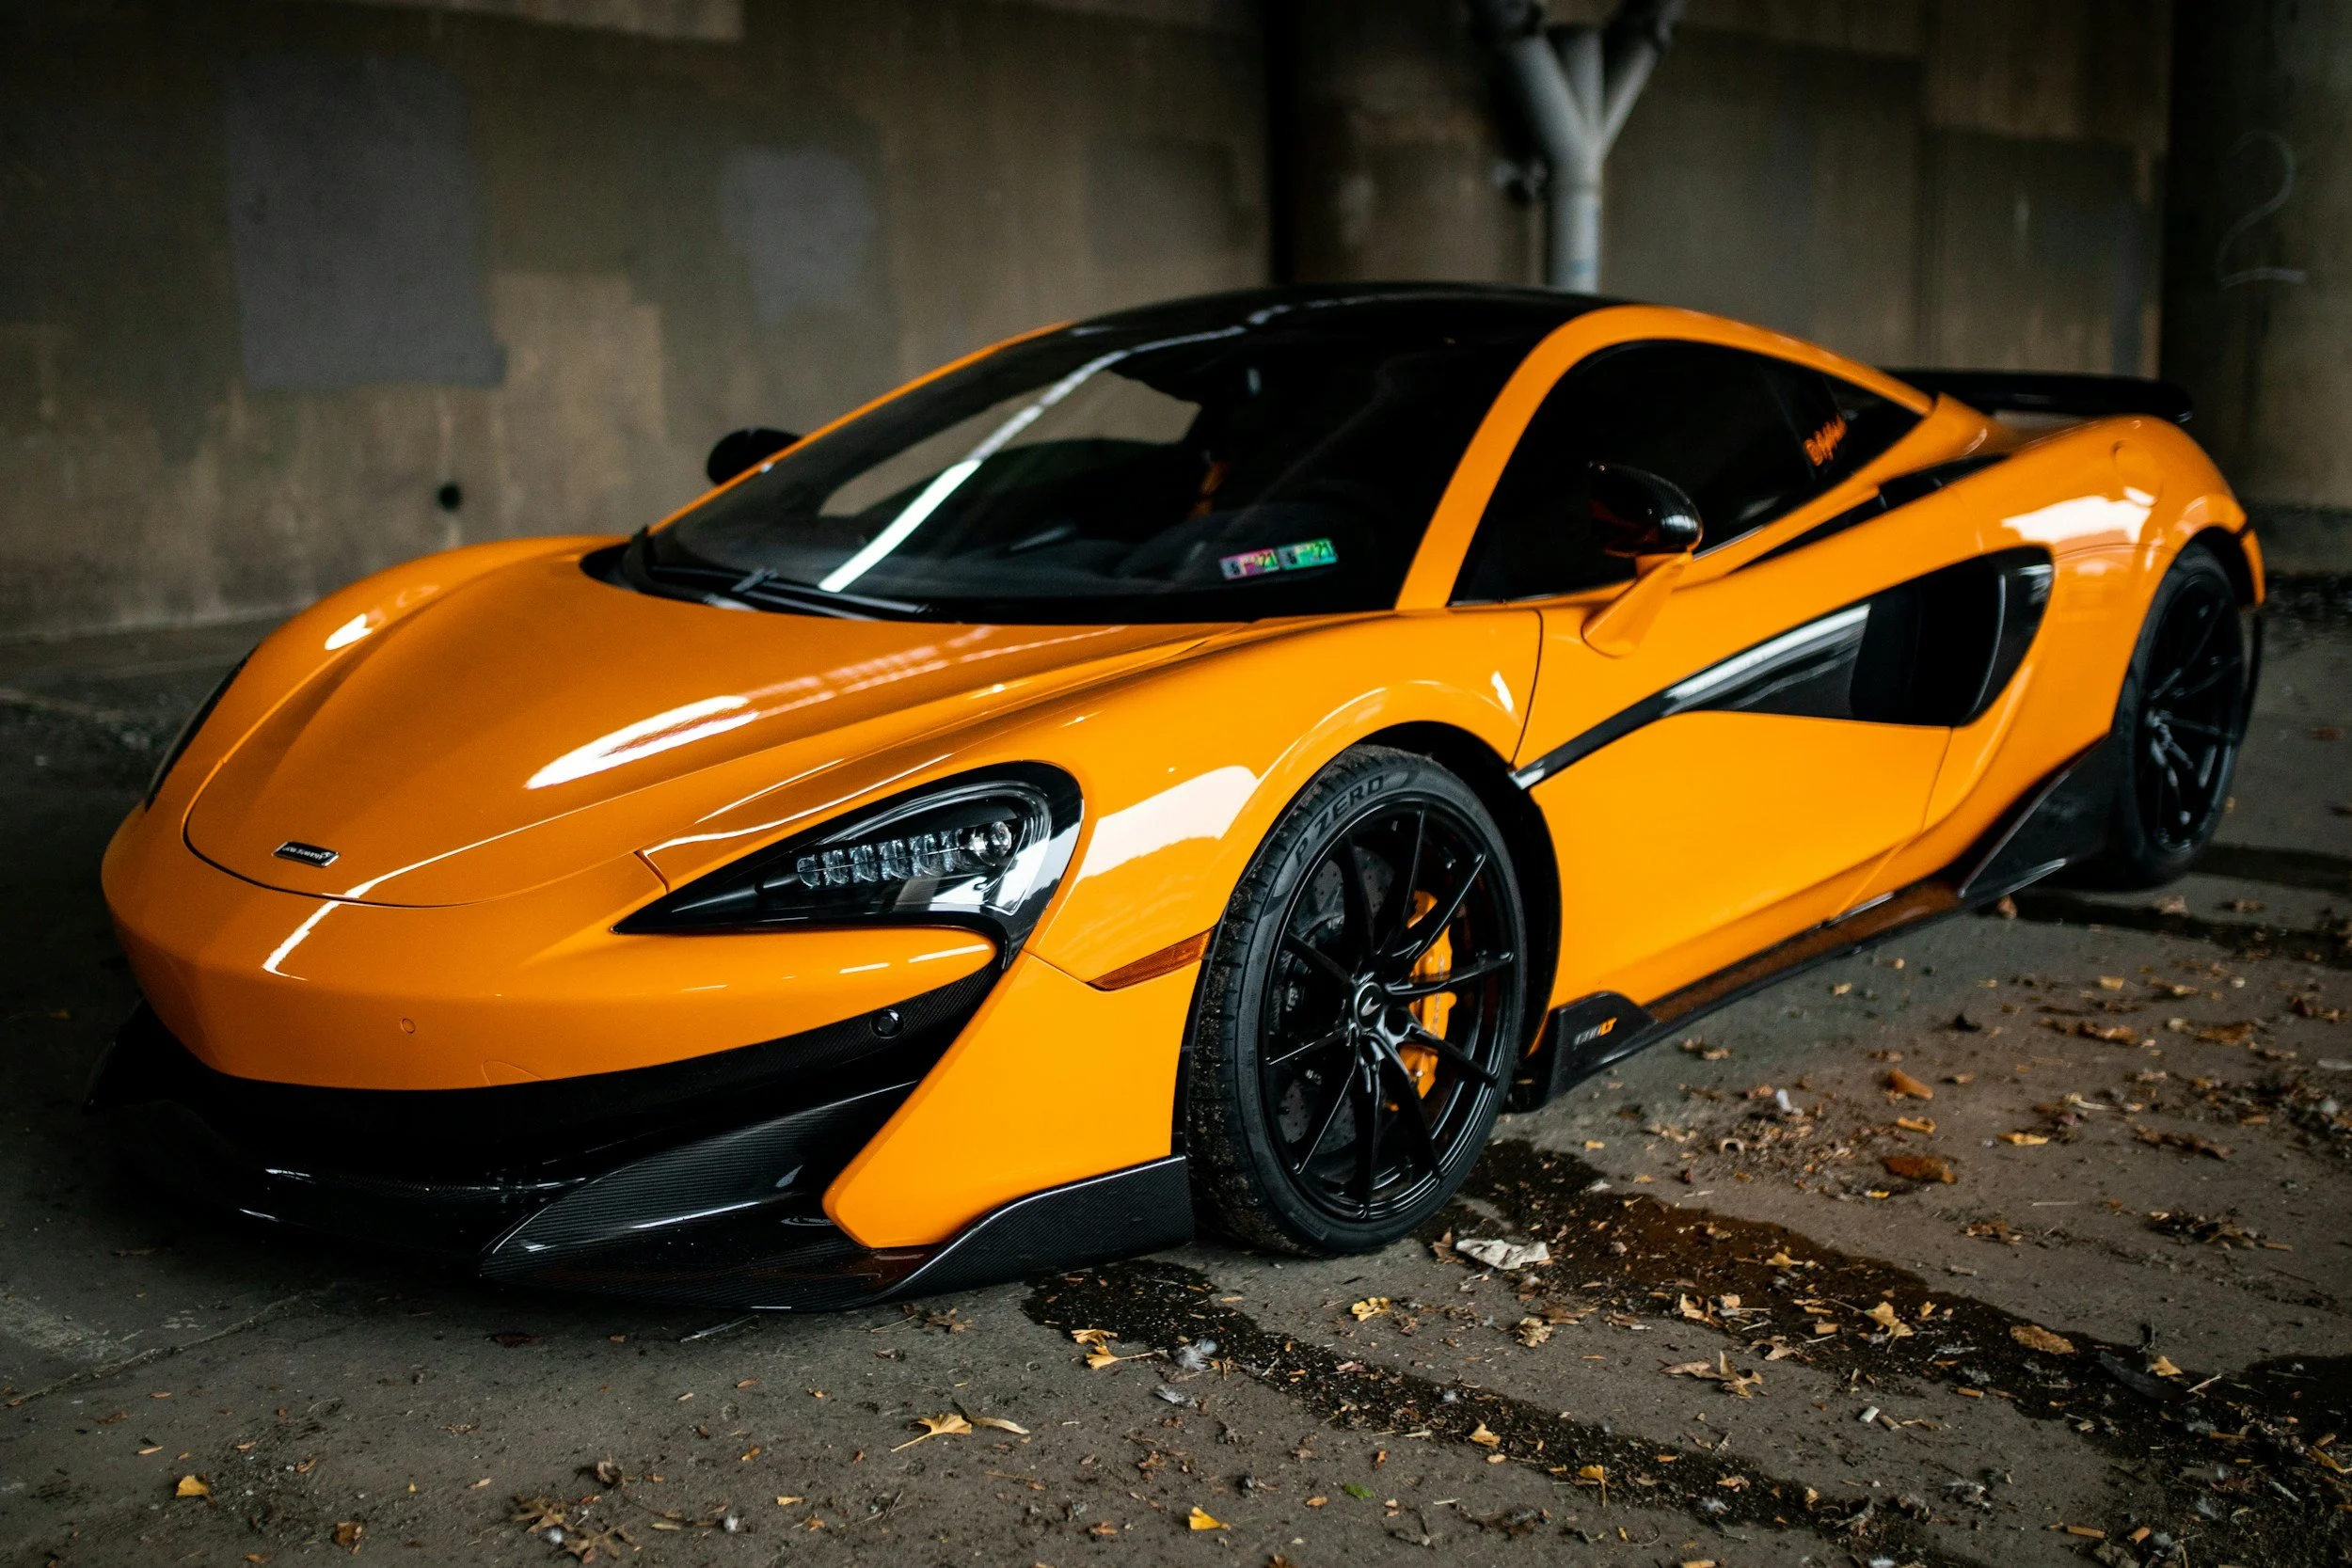
Let's be honest. When you see a car with a fresh ceramic coating, all you see is the incredible shine. It’s a mirror-like finish that looks wet to the touch, and it seems almost too good to be true. From the outside, it looks like magic.
But here at Wraps on Whips in Lorton, we'll let you in on a little secret: The "magic" isn't in the product itself. It's in the unseen, meticulous work that happens before the coating is ever applied.
A professional ceramic coating isn't just a quick wipe-on product. It's a multi-step, precision process that's all about preparation. If you've ever wondered why a professional job costs what it does, here’s a look behind the curtain at what we do to ensure your car gets a truly flawless, long-lasting finish.
Step 1: The Decontamination Wash
Think of this as the clean slate. Your car's paint is covered in things you can't even see—tiny bits of road tar, iron deposits from brake dust, stubborn tree sap, and all that pollen from the Lorton trees in the spring. A regular wash just won't cut it. We use a special chemical wash and high-tech detailing methods to strip away every single one of these contaminants, leaving the surface perfectly clean and ready for the next step.
Step 2: The Clay Bar Treatment
Once the car is dry, we move on to the clay bar. This is like a deep-cleaning facial for your car's paint. The clay bar, when used with a lubricant, gently glides across the surface, pulling out any embedded grit and contaminants that the wash missed. When we're done, the paint feels as smooth as glass. This step is absolutely critical because if we applied the coating over a gritty surface, the final result wouldn't be as smooth or as durable.
Step 3: The Secret Sauce: Paint Correction
This is the most important—and time-consuming—step of the entire process. No matter how new a car is, its paint has imperfections: swirl marks from automated car washes, light scratches, and holograms from previous polishing jobs.
Here’s a simple way to think about it: Applying a ceramic coating over swirled paint is like putting a brand new, pristine screen protector on a dirty, scratched phone. You're just sealing in all the imperfections.
Our expert technicians use a professional-grade polisher and a series of compounds to meticulously correct these defects. This process brings the paint to a mirror-like finish, ensuring that when the coating goes on, it has a perfectly smooth and blemish-free surface to bond with. The result is a depth and shine you can't get from just washing and waxing.
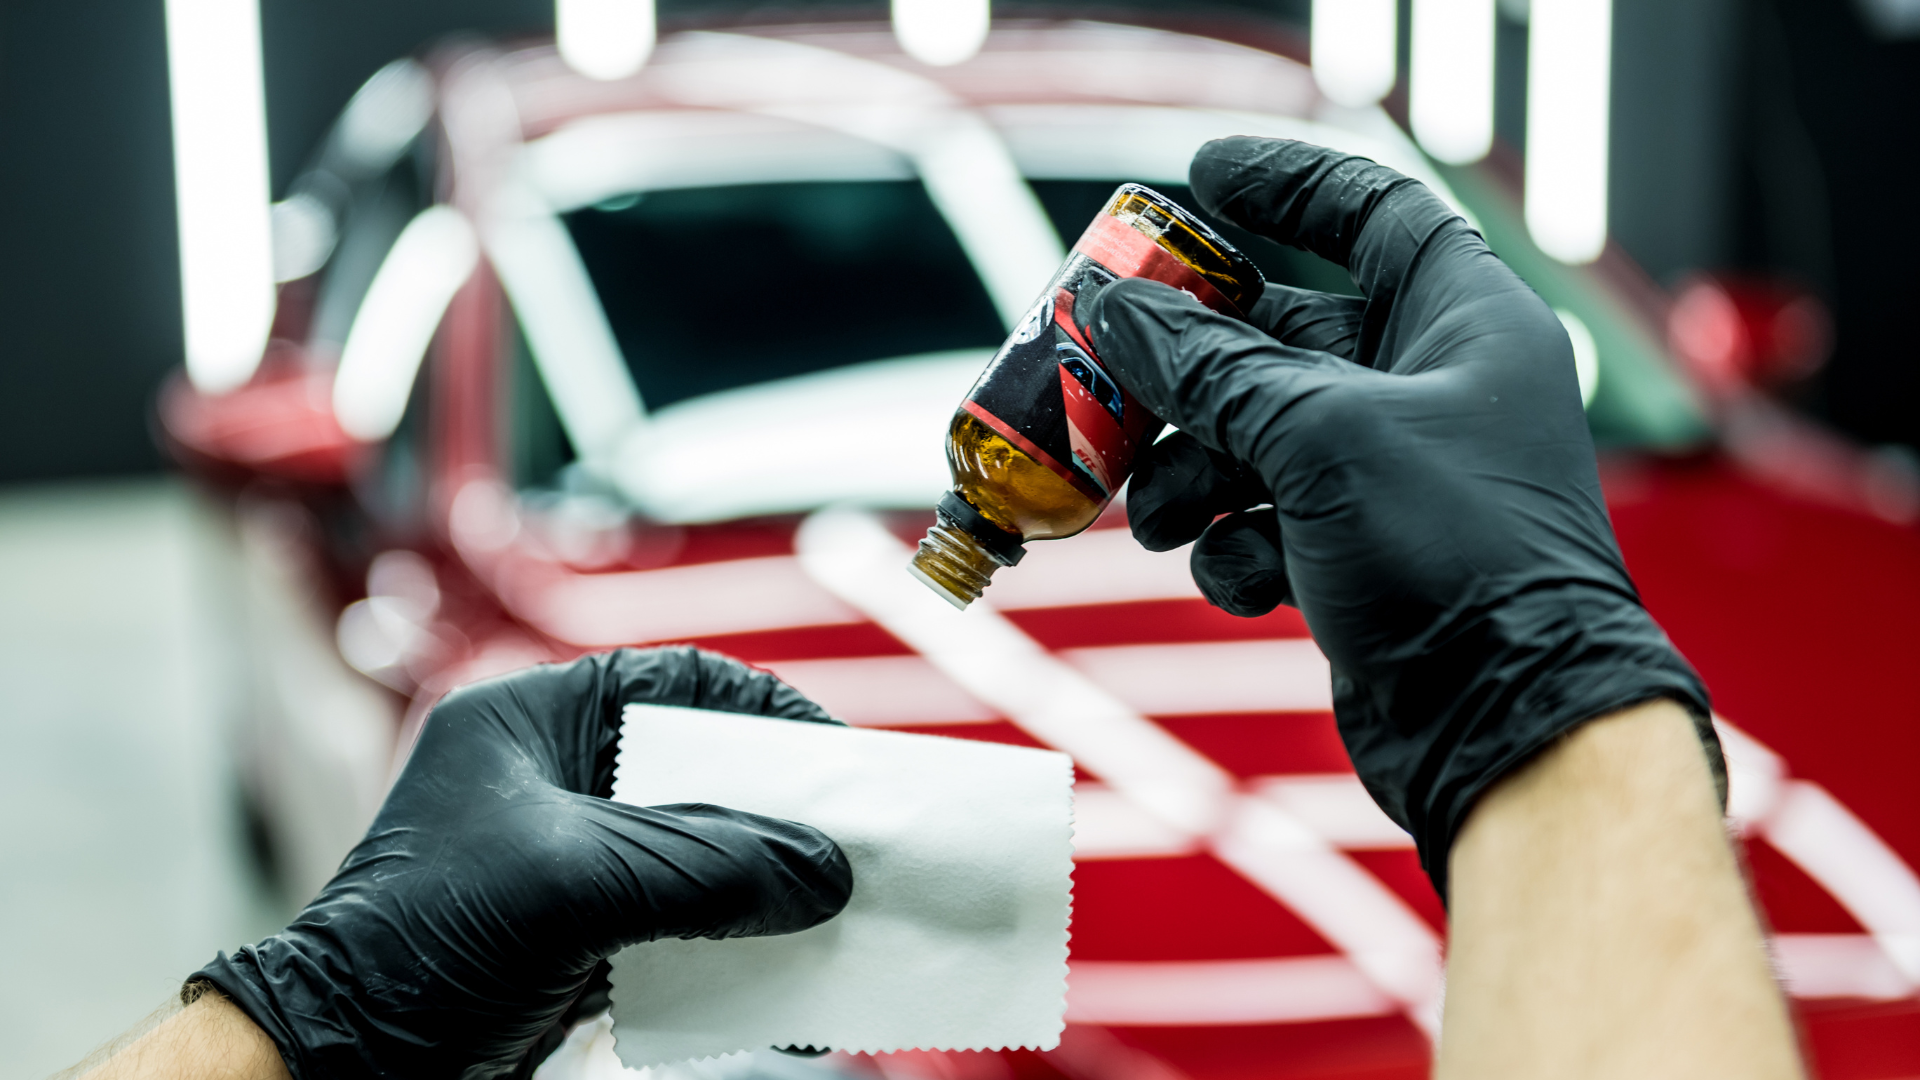
Step 4: The Final Prep (IPA Wipe)
After the paint correction, we do one final wipe-down of the entire car using an Isopropyl Alcohol (IPA) solution. This may seem redundant, but its purpose is vital: It strips away any remaining polishing oils, dust, or residue, ensuring the paint is completely bare and ready for the coating. This is the moment the car's clear coat is truly ready to form a permanent bond with the ceramic coating.
Step 5: The Ceramic Coating Application
Finally, the product is applied. This isn't a simple spray-and-walk-away job. Our technicians work in a climate-controlled bay to prevent dust from settling on the paint. We apply the coating in small, precise sections, carefully leveling it to ensure a thin, even layer. We then allow it to cure for the manufacturer's recommended time, ensuring it hardens into a durable, protective shell.
When you drive your car away from our shop in Lorton, that incredible shine isn’t just a result of a product—it's the culmination of hours of meticulous, professional work. It’s a flawless finish you can feel confident in, knowing that you've truly protected your vehicle with the best care possible.