
How to Get Your Vehicle Ready for Wrap Removal and a New Install
So, you’ve decided on a fresh look for your car, truck, or van—that's exciting! Whether you’re saying goodbye to an old vinyl wrap or counting down the minutes until we at Wraps On Whips apply your stunning new design, the quality of the final product largely depends on one critical step: preparation.
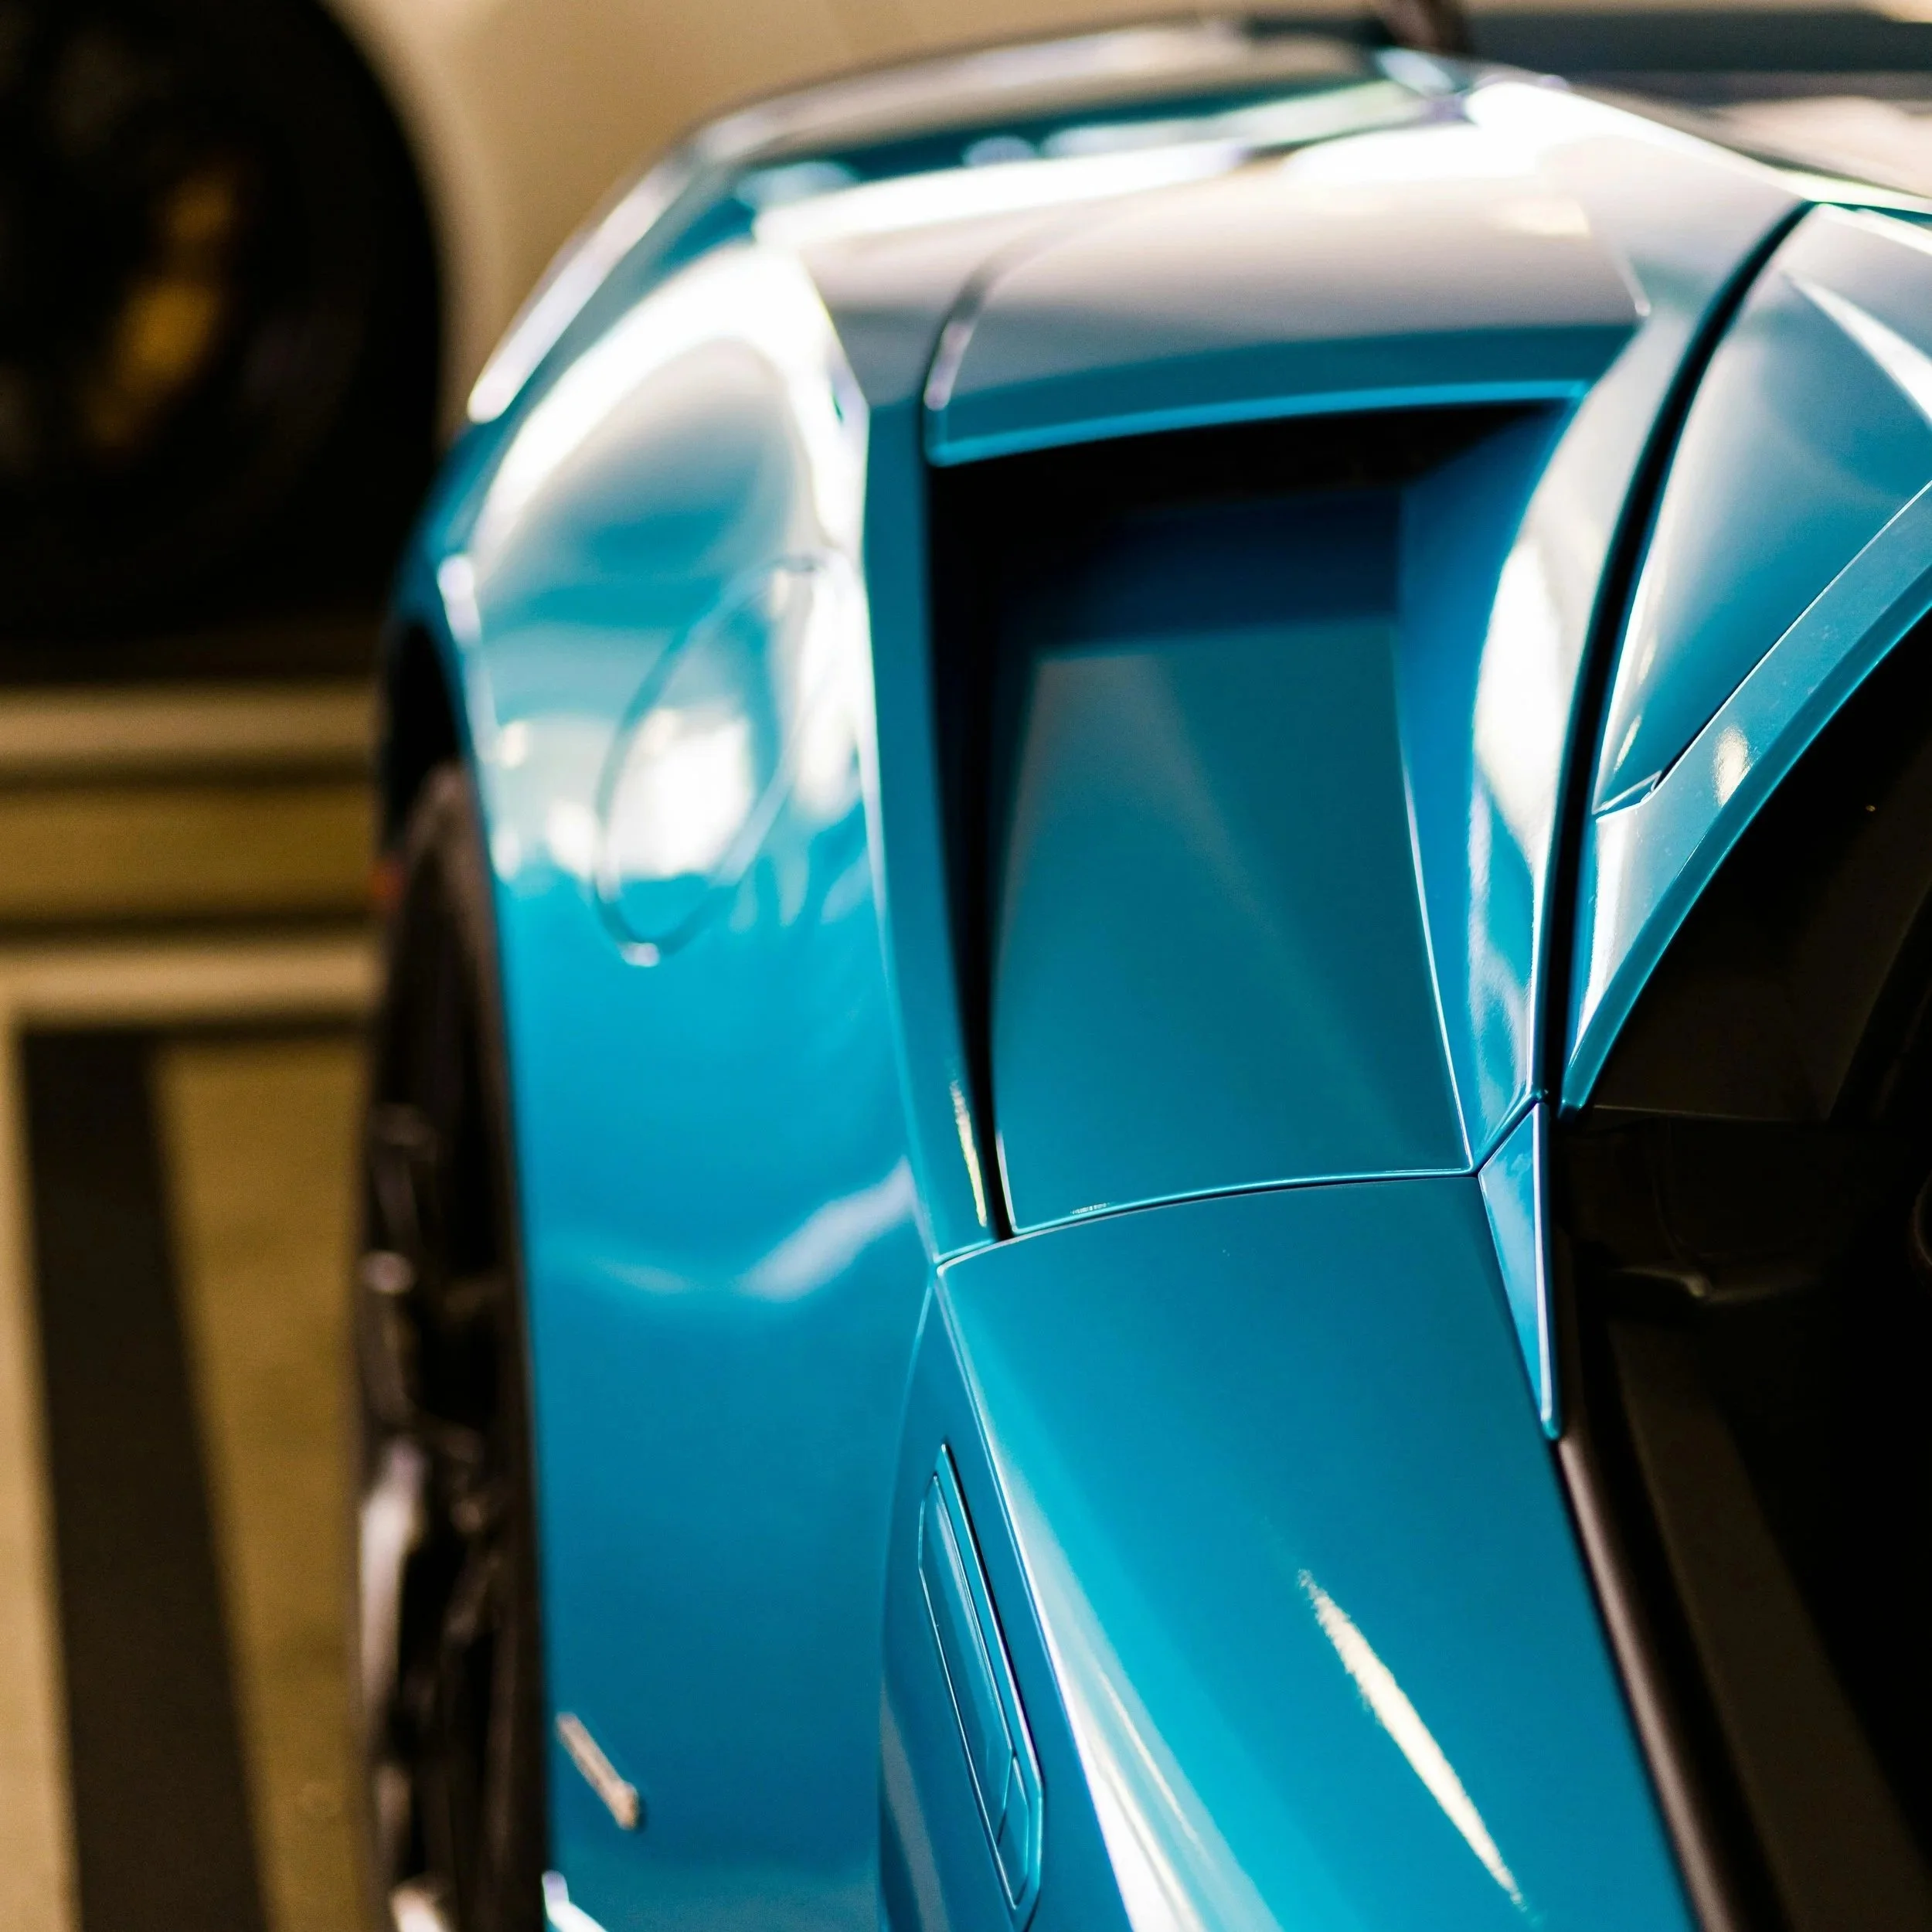
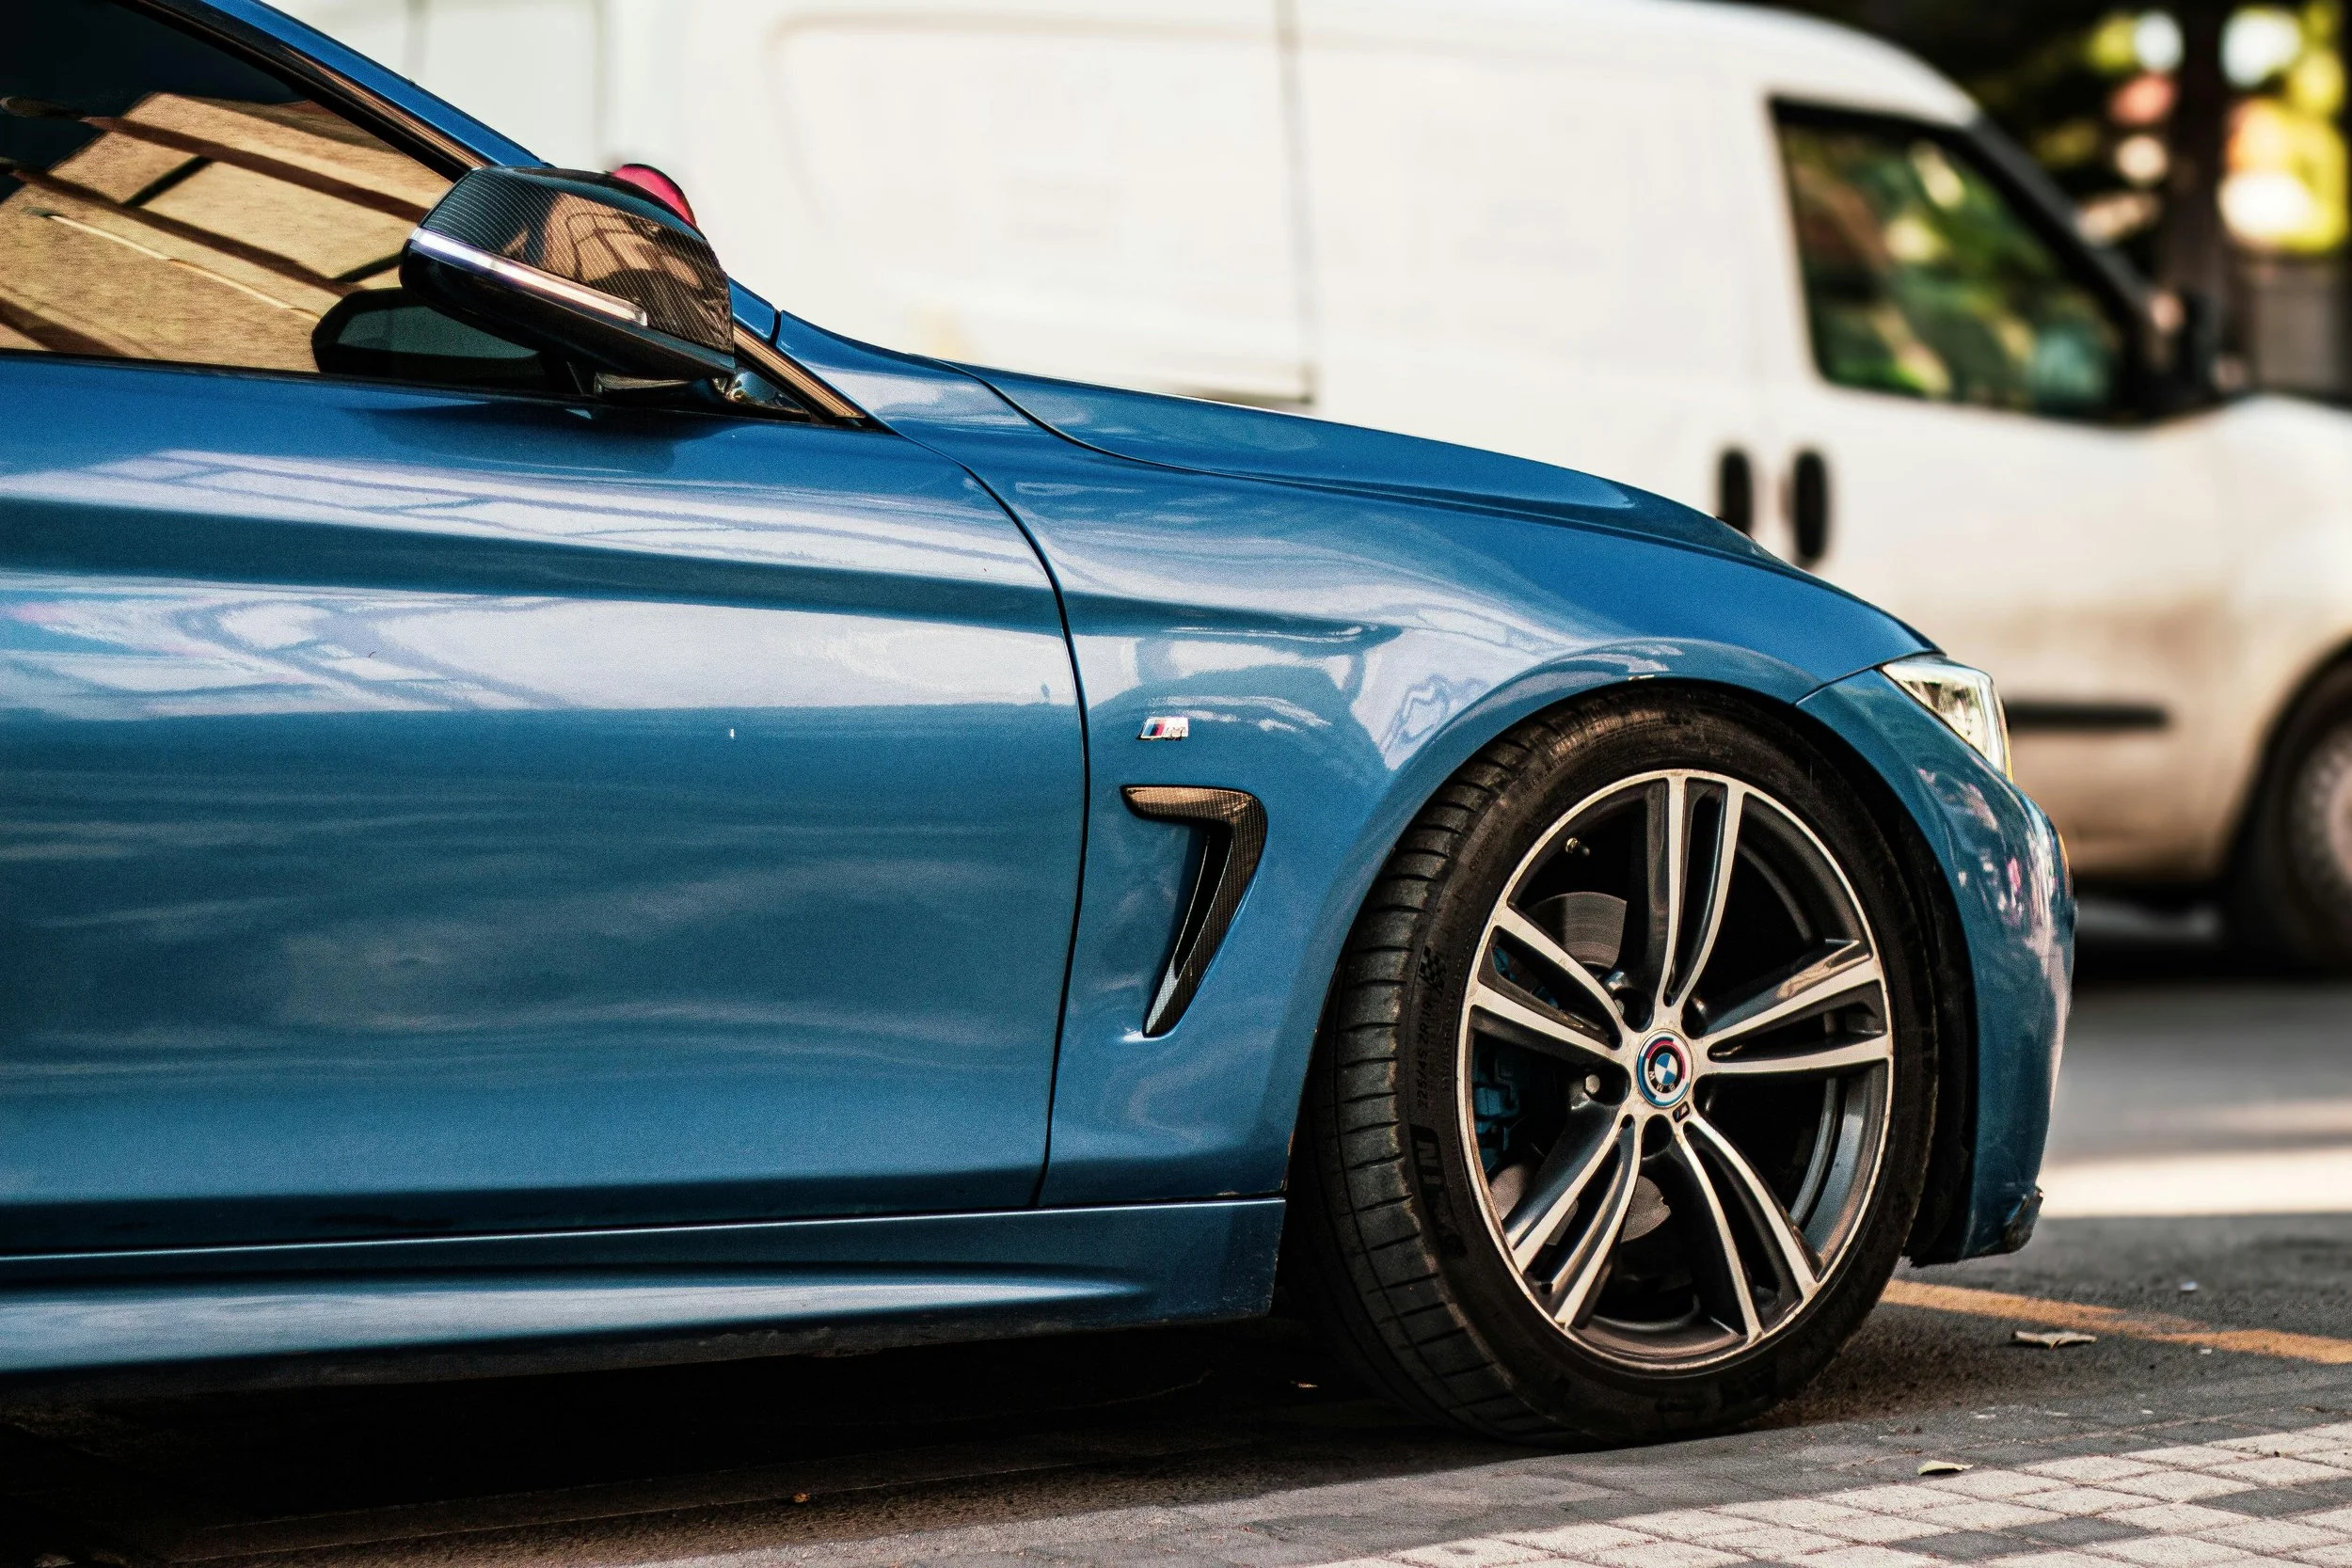
Think of a vinyl wrap installation like getting a paint job. The paint is only as good as the bodywork underneath. For us, a pristine, properly prepped vehicle is the canvas we need to deliver that flawless, long-lasting finish you expect.
Here is your essential checklist for preparing your vehicle for both vinyl wrap removal and new installations.
The Most Critical Step: The Deep Clean
This isn't a quick car wash—this is an intense cleaning, and it is mandatory for any successful installation.
1. The Day Before: A Thorough Exterior Wash
Your vehicle needs to arrive at our shop as clean as possible. Dirt, dust, road grime, mud, and even pollen act as a barrier between the vinyl's adhesive and your vehicle's paint, which will lead to bubbling, peeling, and a much shorter lifespan for your wrap.
Hand Wash: We strongly recommend a hand wash with a mild, pH-neutral soap. Skip the automatic car wash; the abrasive brushes can leave behind small scratches that, while hidden by the wrap, will still affect the surface.
Focus on Edges and Crevices: Pay extra attention to wheel wells, door jambs, bumpers, and under the rocker panels. These are high-dirt areas where the wrap will tuck and adhere.
Dry Completely: Ensure the car is totally dry before you drive it over. Moisture trapped in seams or gaps can cause adhesion issues later.
2. What NOT to Do Before Installation
Do NOT Wax, Seal, or Apply Rain-X: These products are designed to repel everything—including our vinyl adhesive! Any wax, sealant, or ceramic coating must be completely removed before we can install the wrap. If we have to remove it, it will add extra time and cost to your project.
Do NOT Apply Tire Shine: While your tires will look great, the oils from tire shine can easily sling onto your paint during the drive to our shop. It's best to wait until after the wrap is complete.
Hardware Check: Making Our Job Easier
We are experts, but some small pre-installation steps can shave time off your project and ensure a better outcome.
1. Remove Aftermarket Accessories
If your vehicle has any parts that were not installed by the factory—things like aftermarket badges, non-factory mud flaps, light guards, or chunky vent shades—it's best to remove them yourself beforehand. This saves us time and prevents potential damage during the removal process.
2. The Great Badges and Emblems Debate
Most professional wraps require the removal of factory emblems and badges to ensure the vinyl perfectly covers the area underneath. We are equipped to handle this carefully, but if you want to keep them, please let us know before your appointment so we can discuss the aesthetics and longevity compromise.
Getting Ready for Wrap Removal
If your visit is to have an old wrap taken off before the new one goes on, the prep is mostly the same, but with one key difference:
Warmth is Your Friend: A warmer wrap is an easier wrap to remove. If possible, park your vehicle in a warm garage for a few hours before bringing it in. The heat makes the vinyl more pliable and keeps the adhesive soft, which helps us remove it cleanly and safely.
Trust Northern VA's Wrap Experts
At Wraps On Whips, we take every precaution to ensure your new wrap is seamless, durable, and everything you dreamed of. By following this simple prep guide, you ensure the blank canvas we work with is perfect, letting our team focus purely on the intricate details of a flawless installation.
Ready to book your installation? Give us a call or stop by the shop! We're here to turn your vision into a reality.
What do you think? Would you like to add a section about booking appointments or maybe include a photo gallery link at the end?